

위의 사진처럼 버튼을 클릭하면
달력이 나오고 라디오버튼(팝업 다이얼로그)이 나오도록 구현해 보자
달력(datepicker)
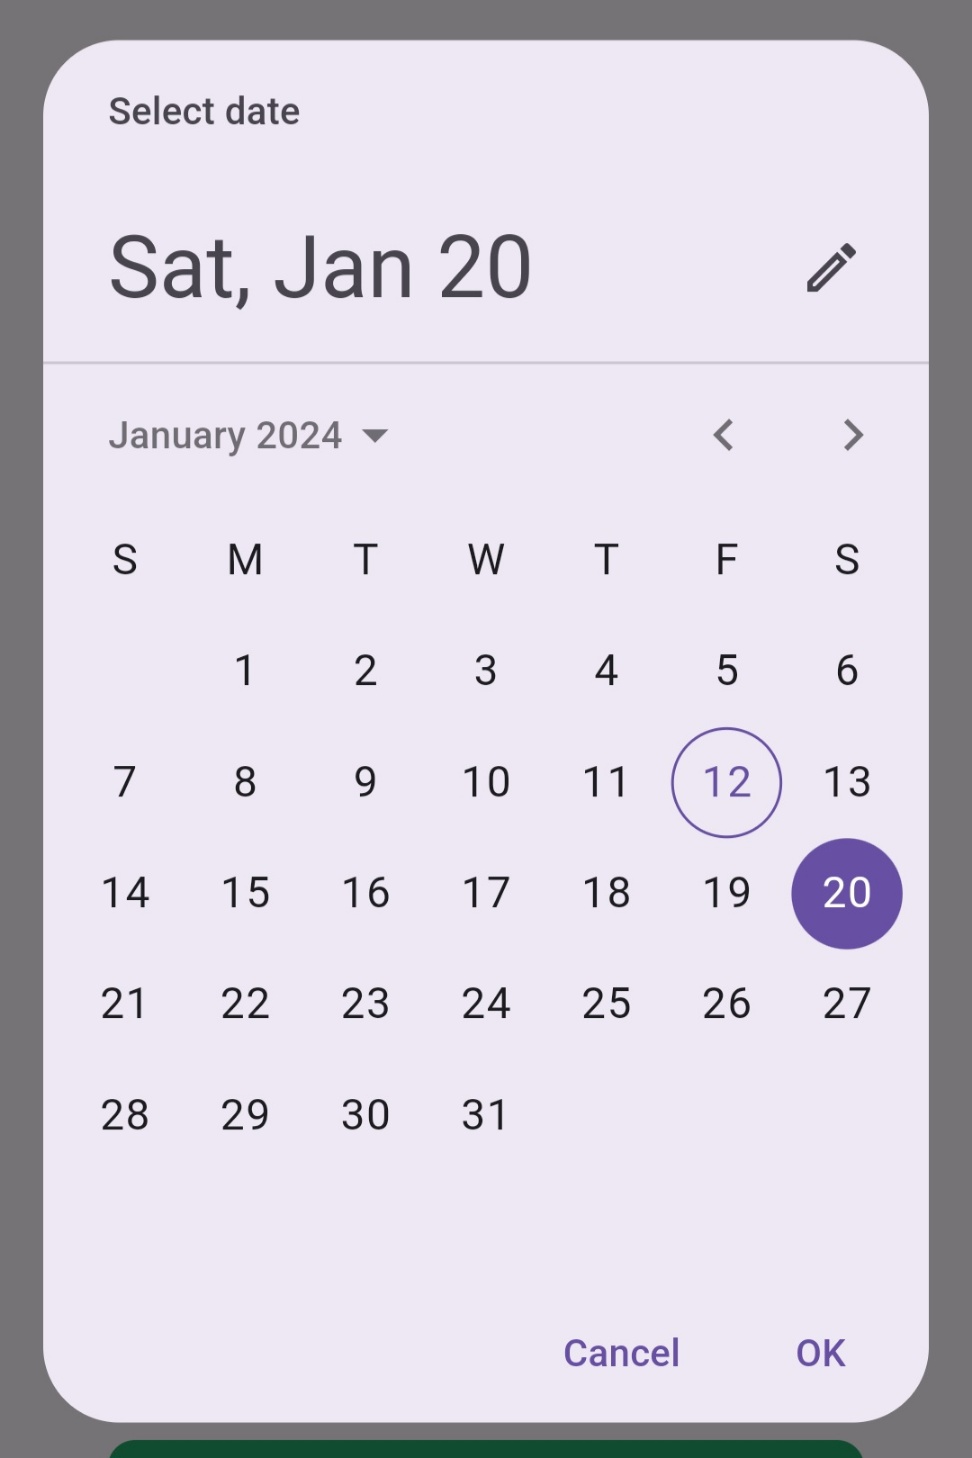
달력을 먼저 살펴보자
class DatePickerButton extends StatefulWidget {
const DatePickerButton({
Key? key,
this.label = ''
this.hintText = '',
this.icon,
this.iconColor = Colors.grey,
this.hintTextColor = Colors.grey,
this.borderRadius = const BorderRadius.all(Radius.circular(12.0)),
this.buttonWidth = double.infinity,
this.buttonHeight = 60.0,
this.iconSize = 24.0,
this.hintTextSize = 16.0,
this.backgroundColor = Colors.white,
}) : super(key: key);
final String label;
final String hintText;
final IconData? icon;
final Color iconColor;
final Color hintTextColor;
final BorderRadius borderRadius;
final double buttonWidth;
final double buttonHeight;
final double iconSize;
final double hintTextSize;
final Color backgroundColor;
@override
_DatePickerButtonState createState() => _DatePickerButtonState();
}
먼저 달력이 나올 수 있게 해주는 버튼을 구현한다
나는 DatePickerButton이라는 이름을 사용했다
class _DatePickerButtonState extends State<DatePickerButton> {
final TextEditingController _dateController = TextEditingController();
Future<void> _selectDate(BuildContext context) async {
DateTime? pickedDate = await showDatePicker(
context: context,
initialDate: DateTime.now(),
firstDate: DateTime(1900),
lastDate: DateTime(2101),
);
if (pickedDate != null && pickedDate != DateTime.now()) {
setState(() {
_dateController.text = pickedDate.toLocal().toString().split(' ')[0];
});
}
}
@override
void dispose() {
_dateController.dispose();
super.dispose();
}
@override
void initState() {
super.initState();
_dateController.text = widget.hintText;
}
여기가 달력 부분
Controller를 사용해서 스크룰이 가능하게 하고
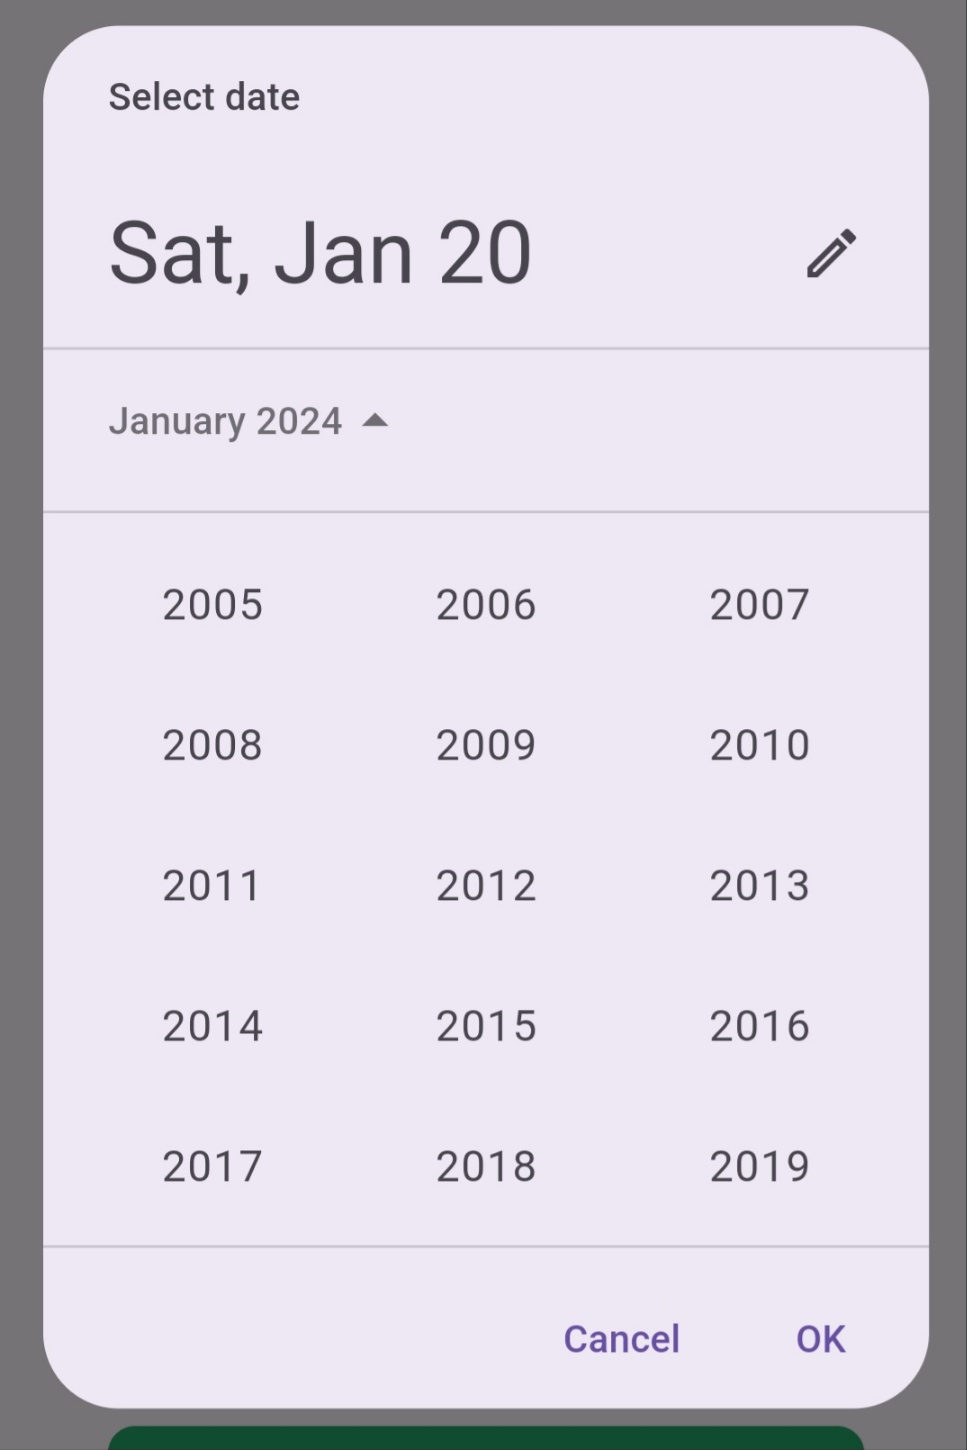
initialDate 이걸 사용해서 달력이 현재 날짜를 가리키게
firstDate , lastDate를 통해 연도를 1900년부터 2101년까지 고를 수 있도록 함
또 dispose와 initState는 달력이 보이고 없어지고를 할 수 있게 한다.
@override
Widget build(BuildContext context) {
return ElevatedButton(
onPressed: () => _selectDate(context),
style: ElevatedButton.styleFrom(
primary: widget.backgroundColor,
minimumSize: Size(widget.buttonWidth, widget.buttonHeight),
shape: RoundedRectangleBorder(
borderRadius: widget.borderRadius,
side: BorderSide(
//color: Colors.black,
),
),
),
child: Row(
mainAxisAlignment: MainAxisAlignment.start,
children: [
Icon(
widget.icon,
color: widget.iconColor,
size: widget.iconSize,
),
SizedBox(width: 8.0),
Expanded(
child: TextField(
controller: _dateController,
enabled: false,
style: TextStyle(
fontSize: widget.hintTextSize,
//color: Colors.black,
),
decoration: InputDecoration(
isDense: true,
contentPadding: EdgeInsets.zero,
border: InputBorder.none,
hintText: widget.hintText,
hintStyle: TextStyle(
color: Colors.grey,
),
),
),
),
],
),
);
}
}
여기가 달력을 선택할 수 있도록 하는 코드이다
https://pub.dev/packages/flutter_date_pickers
flutter_date_pickers | Flutter Package
Flutter package for day, week, range and month date pickers.
pub.dev
나는 플러터 공식 홈페이지를 참고했고
여기에 datepicker라고 검색하면 보다 다양한 위젯이 많으니 참고하면 된다
라이오버튼(Radio)
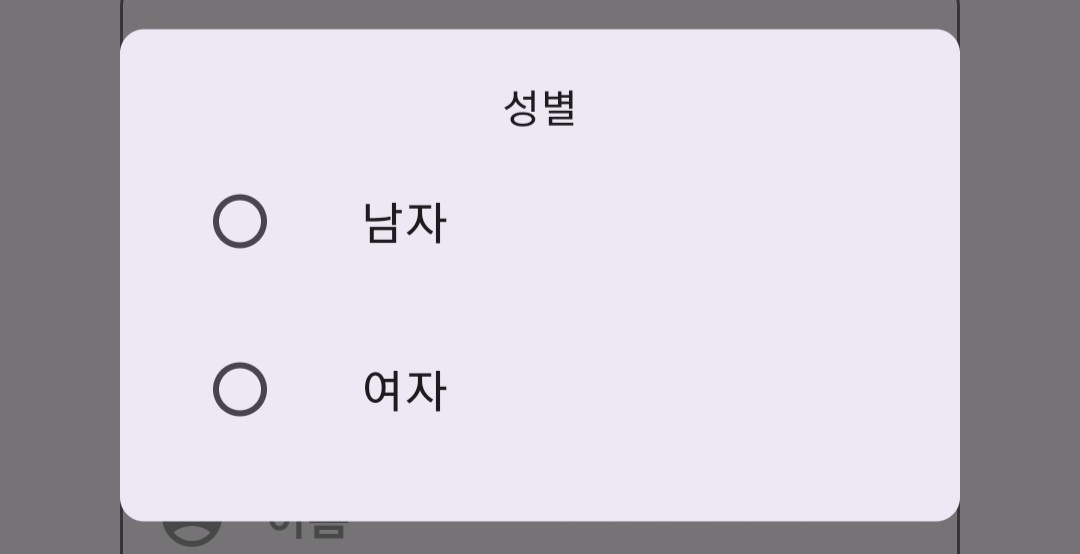
사실 저번에 올렸던 다이얼로그에 다른 구현이다
저번에는 '확인'이라는 텍스트를 클릭하면 다이얼로그가 닫혔다면
이번에는 라디오버튼을 클릭하면 없어지는 구현이다.
class genderbox extends StatefulWidget {
const genderbox({
Key? key,
this.label = '',
this.hintText = '',
this.icon,
this.iconColor = Colors.grey,
this.hintTextColor = Colors.grey,
this.borderRadius = const BorderRadius.all(Radius.circular(12.0)),
this.buttonWidth = double.infinity,
this.buttonHeight = 60.0,
this.iconSize = 24.0,
this.hintTextSize = 16.0,
this.backgroundColor = Colors.white,
}) : super(key: key);
final String label;
final String hintText;
final IconData? icon;
final Color iconColor;
final Color hintTextColor;
final BorderRadius borderRadius;
final double buttonWidth;
final double buttonHeight;
final double iconSize;
final double hintTextSize;
final Color backgroundColor;
@override
_genderboxState createState() => _genderboxState();
}
먼저 나는 성별을 고르는 용도로 사용할 예정이기 때문에
genderbox라는 이름으로 사용하였다.
class _genderboxState extends State {
String? _selectedGender;
@override
Widget build(BuildContext context) {
return Column(
children: [
ElevatedButton(
onPressed: () => _selectGender(context),
style: ElevatedButton.styleFrom(
primary: widget.backgroundColor,
minimumSize: Size(widget.buttonWidth, widget.buttonHeight),
shape: RoundedRectangleBorder(
borderRadius: widget.borderRadius,
side: BorderSide(
color: Colors.grey,
),
),
),
child: Row(
crossAxisAlignment: CrossAxisAlignment.start,
children: [
Icon(
widget.icon,
color: widget.iconColor,
size: widget.iconSize,
),
SizedBox(width: 8.0),
Expanded(
child: Column(
crossAxisAlignment: CrossAxisAlignment.start,
children: [
if (_selectedGender == null)
Text(
widget.hintText,
style: TextStyle(
color: widget.hintTextColor,
fontSize: widget.hintTextSize,
),
),
if (_selectedGender != null)
Text(
_selectedGender!,
style: TextStyle(
color: Colors.black,
fontSize: widget.hintTextSize,
),
),
],
),
),
],
),
),
],
);
}
Future _selectGender(BuildContext context) async {
showDialog(
context: context,
builder: (BuildContext context) {
return AlertDialog(
shape: RoundedRectangleBorder(
borderRadius: BorderRadius.circular(8.0),
),
contentPadding: const EdgeInsets.symmetric(vertical: 16.0),
content: Column(
mainAxisSize: MainAxisSize.min,
children: [
const Text('성별'),
ListTile(
title: const Text('남자'),
leading: Radio(
value: '남자',
groupValue: _selectedGender,
onChanged: (String? value) {
setState(() {
_selectedGender = value;
});
Navigator.of(context).pop(); // 다이얼로그 닫기
},
),
),
ListTile(
title: const Text('여자'),
leading: Radio(
value: '여자',
groupValue: _selectedGender,
onChanged: (String? value) {
setState(() {
_selectedGender = value;
});
Navigator.of(context).pop(); // 다이얼로그 닫기
},
),
),
],
),
);
},
);
}
}
먼저 라디오버튼 선택 시 _selectedGender로 해당 내용이 전달되게 하였고
버튼 클릭 시 라디오버튼이 포함된 다이얼로그가 뜨도록 하고
ListTile를 통해 '남자' , '여자' 선택지의 라디오 버튼을 만들었다.
달력부분하고 마찬가지지만 레이아웃이나 스타일은 각자에 맞혀서 변경하면 된다.
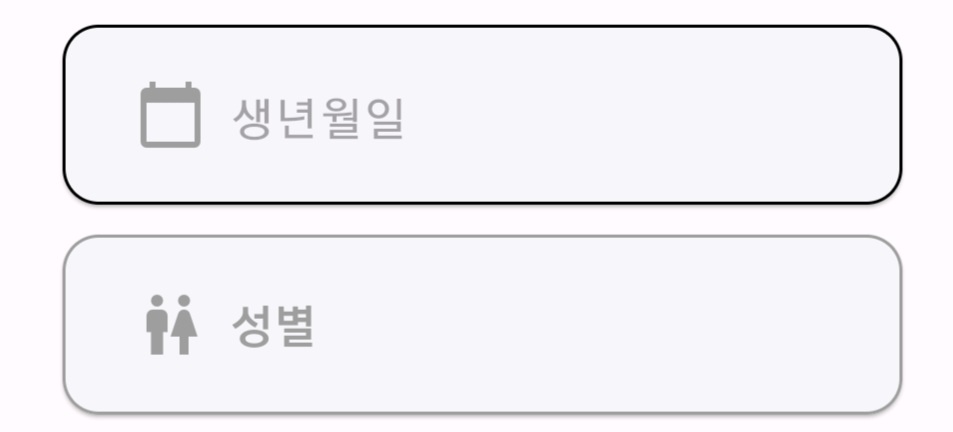
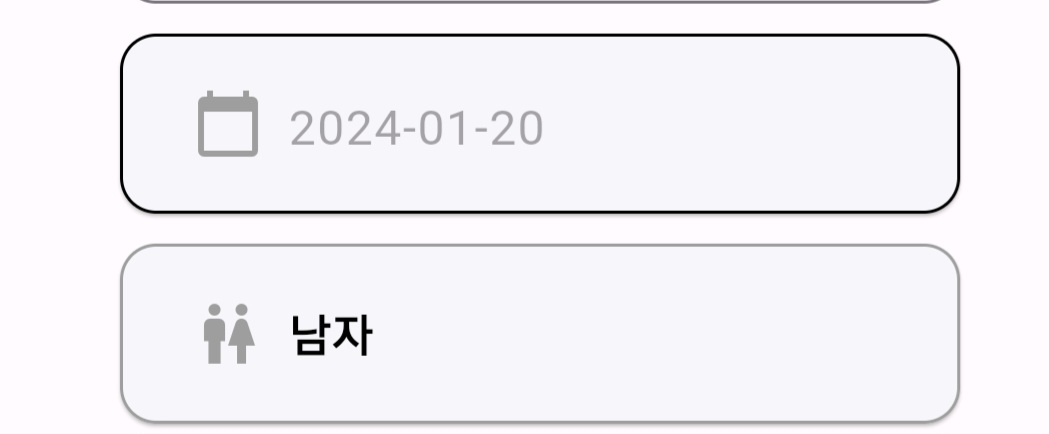
달력(생년월일)과 라디오버튼(성별)에서 선택한 내용이
잘 전달된 모습이다.
'flutter(dart)' 카테고리의 다른 글
| flutter - 플러터와 flask(파이썬) 연동하기 (1) | 2024.01.28 |
|---|---|
| flutter - Null check operator used on a null value 오류 해결하기 (1) | 2024.01.21 |
| flutter(6) - "확인되었습니다." 다이얼 로그(AlertDialog) 구현하기 (0) | 2023.11.16 |
| flutter(5) - form ,validator 사용하여 메시지 반환하기 (0) | 2023.11.16 |
| flutter(4)- image_picker - 갤러리에서 이미지 가져오기 (0) | 2023.11.08 |